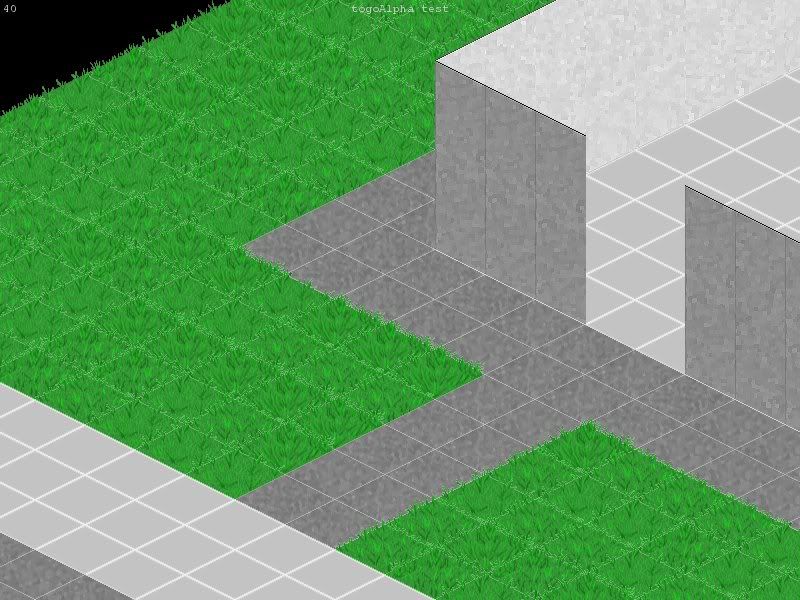
Here is a 100% view of the map using the layer-per-tile scheme, and is consequentially running quite slow. The tiles are, however, ordered correctly so this is still a good prototype.
The tiles and objects are initialized using images as maps that are then converted using a 'filter' (or dict) that generates an object from the data in the image by translating the color at a particular location (x,y) on the bitmap into a corresponding object on the map. For example:
Are our images to be randomized for each tile type. This can also be a single image in a list: [ 'img' ]. These are then assigned to color values in the bitmap like so:
GRASS_TILES = [
'gfx/tiles/Lgrass1.png',
'gfx/tiles/Lgrass2.png',
'gfx/tiles/Lgrass3.png',
'gfx/tiles/Lgrass4.png' ]
CEMENT_TILES = [
'gfx/tiles/Lcement1b.png',
'gfx/tiles/Lcement2b.png',
'gfx/tiles/Lcement3b.png',
'gfx/tiles/Lcement4b.png',
'gfx/tiles/Lcement5b.png' ]
Note: the function uses 'dflt' when the color is not in the dict, but also not = 0. (x,y) positions with a value of '0' are not assigned a tile, and are not valid keys for tile lookup.
FILE_MAP_FILTER = {
16777215:
65280:
'dflt':
CEMENT_TILES,
GRASS_TILES,
['gfx/tiles/Ltile01.png']
}
Here is the base tile map for the map screen shown above:
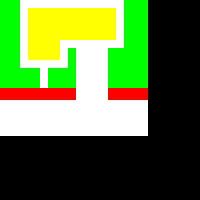
The green pixels correspond to GRASS_TILES, the white to CEMENT_TILES, while the red and yellow pixels are not registered so they generate tiles from 'dflt'.
Next, objects are generated using a similar methodology. The dicts that store them are more complicated to allow for state changes, direction, and other categorizations. Simply put, in this case they use the values returned from pygame.surfarray.array2d(surf):
16711680 :wallNW
16776960 :wallNE
65280 :wallSE
255 :wallSW
This is the object map:
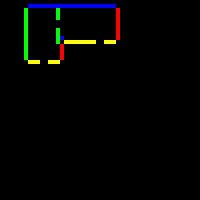
In this early stage as a quick fix, I used a single-wall-per-tile functionality. If you look carefully, you can see that the walls aren't indicated in the way they are seen on the map (see below). The walls are put in between two tiles, so they can be attached to either one. If you were to program it so that the wall objs were linked to the interior tiles, convex corners require a single tile to contain two walls (one for each side of the corner). To work around this, I simply placed the walls on the outside, only using tiles inside for the convex corner (thus reversing it).
The intention is to later include the functionality needed to have interiors with mapTiles that can accommodate more than one wall object, and can be arbitrarily occupied by multiple objects of different types, and exhibit other unique behaviors.
Here is an example of the map zoomed out a bit:
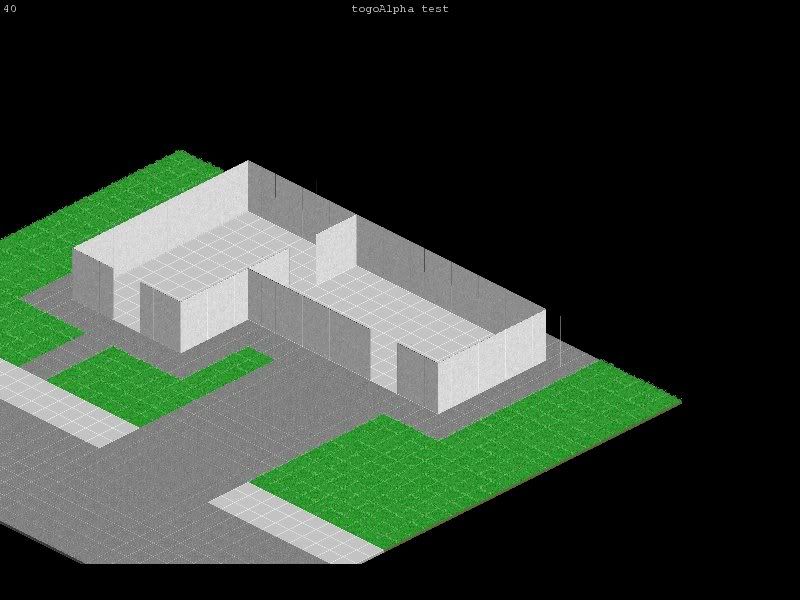
*Note the artifacts on the screen to the right of the bldg... a problem with Opioid2D (Alpha 6 3) when scaling and moving objects. Seems to be related to edges of bounding rects and alpha pixels.
The tiles are composed of images that are aligned so that the center is located appropriately:

The wall tiles are then put on top:
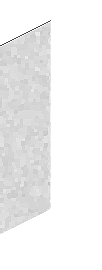 | 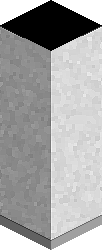 | 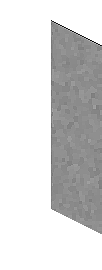 |
These are only test images, so they are fairly bland. The illusion of depth functions, though, so at least I know the map's working correctly (but slow).
No comments:
Post a Comment